We expect that NFTs are new to a lot of you, so we’ve created this guide to walk you through the steps of minting an NFT for the first time on Genesis Mint. If you have any additional questions about the process, feel free to hop into Discord for some help: https://discord.gg/VZGjcsWTVe.
What is a Wallet?
The first thing you would need is an Ethereum wallet. We are going to take you through the steps to set up a basic wallet. There are more secure ways of doing this, but it will be fine whilst your wallet has less than $1000 of value.
However, as long as you protect your MetaMask password and recovery key (seed) you should be just fine! Personally, I try to avoid typing my seed on any computer, as anyone who gains access to those words would be able to gain access to your wallet. Protect these like you would any other important documents (birth certificate, credit card, etc).
With that disclaimer out of the way, let’s walk through setting up a wallet!
Setting up MetaMask
MetaMask is an Ethereum Browser and ETH wallet. MetaMask add-on can be installed on Chrome, Firefox, Edge, and Brave.
For this example, I am going to walk through setting up MetaMask via Chrome. The steps for other browsers should be similar.
First, open Chome and navigate to the Chrome extension page and select “Add to Chrome”.
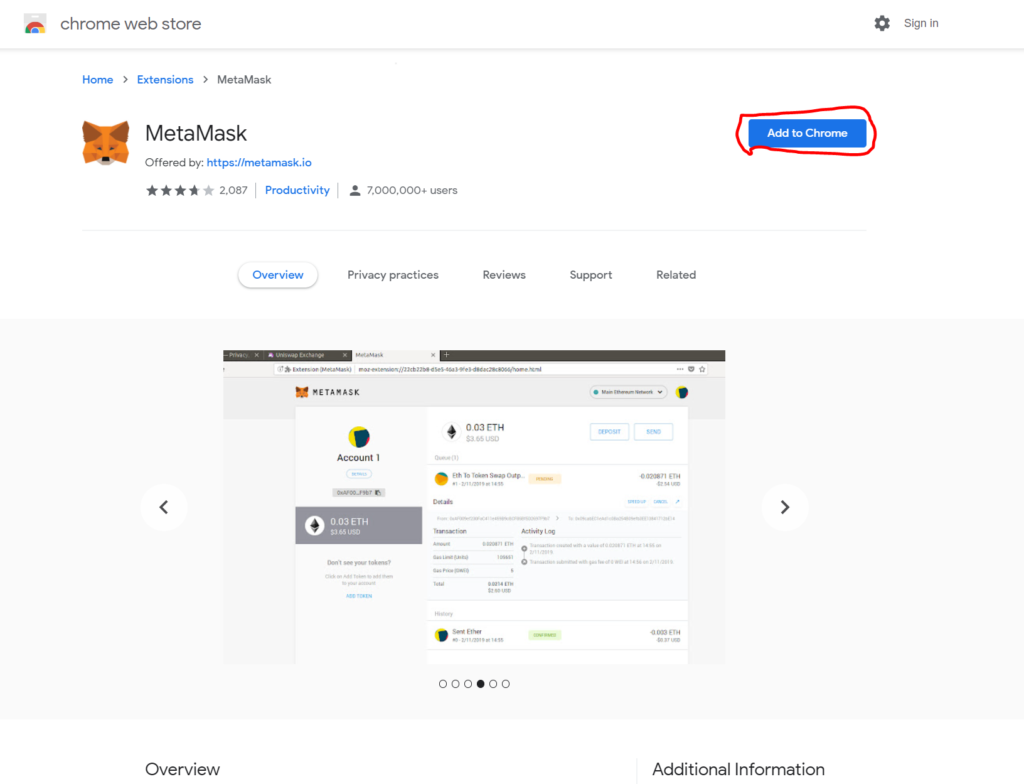
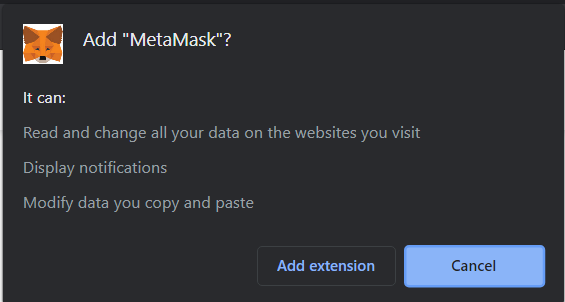
After clicking “Add to Chrome” you will be presented with.
Once installed, you should be presented with.
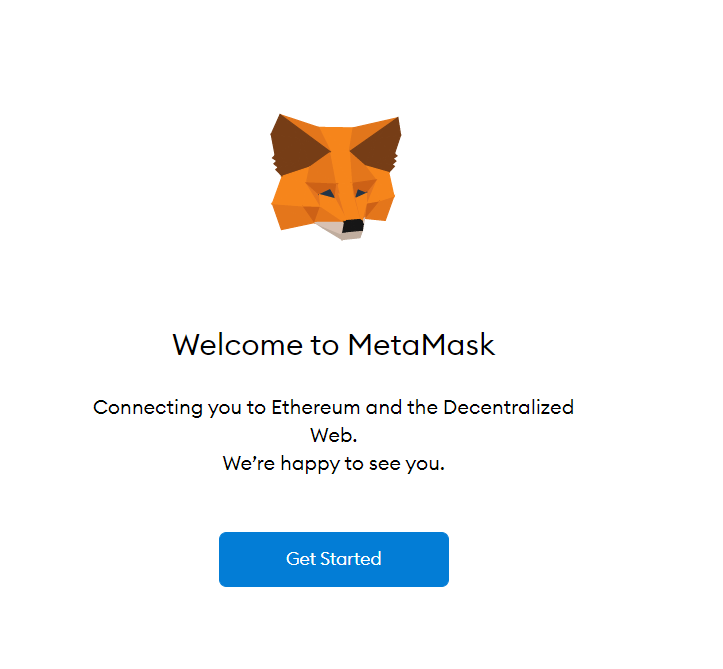
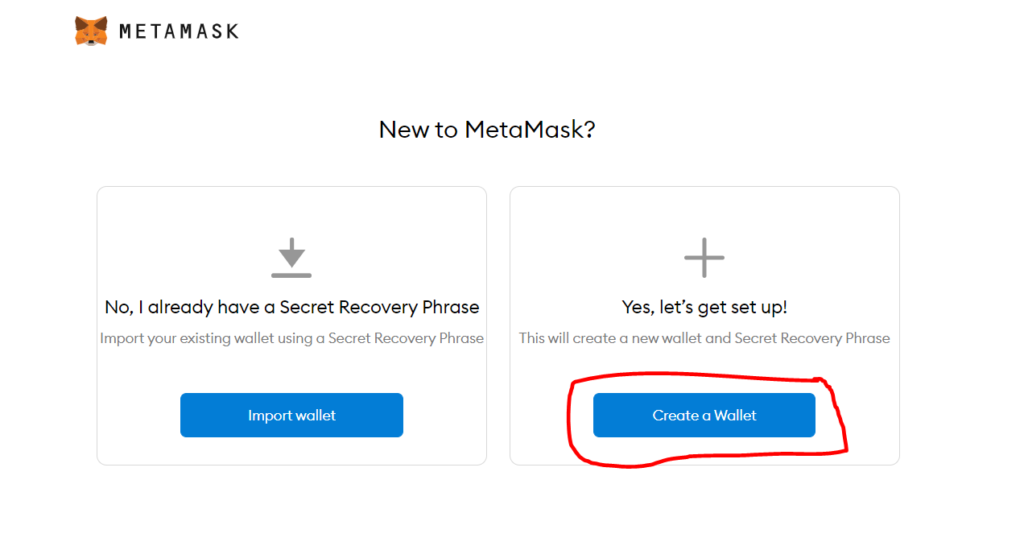
Since we are setting up a wallet for the first time, we want to ‘Create a Wallet’.
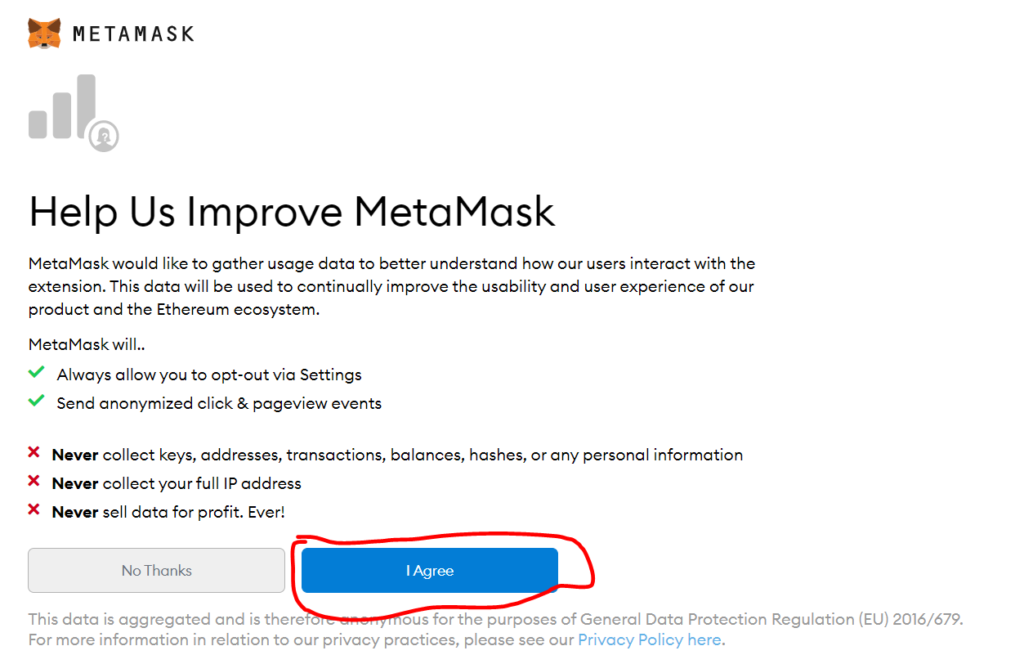
Next, you will be prompted to create a password for your MetaMask account. Personally, I use a password manager and had it generate a nice long and complicated password. Whatever you do, please avoid Password123 of something easily guessed!
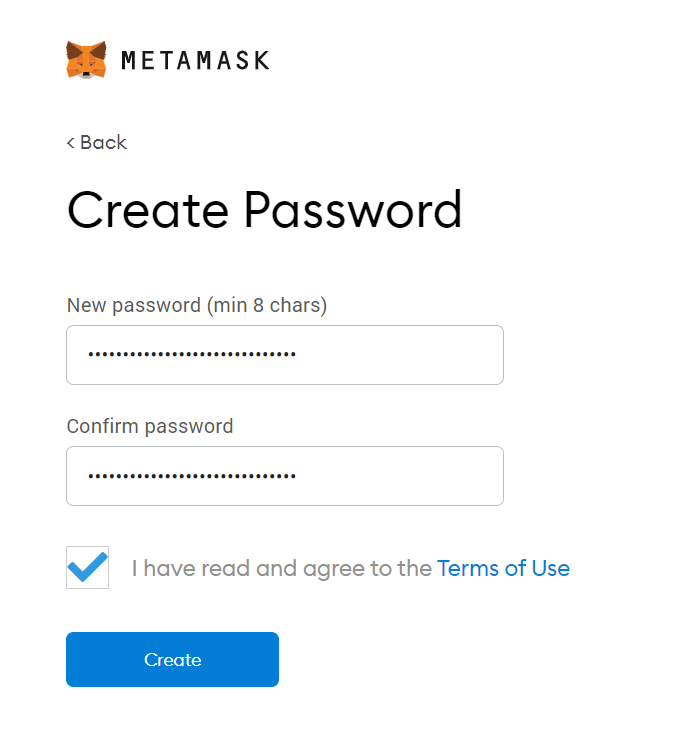
Make it a strong password!
This next step is absolutely critical, please watch the video and be absolutely sure to protect your recovery phase like it is stacks of money (because it is!). I would also avoid typing and saving it on a computer as detailed above.
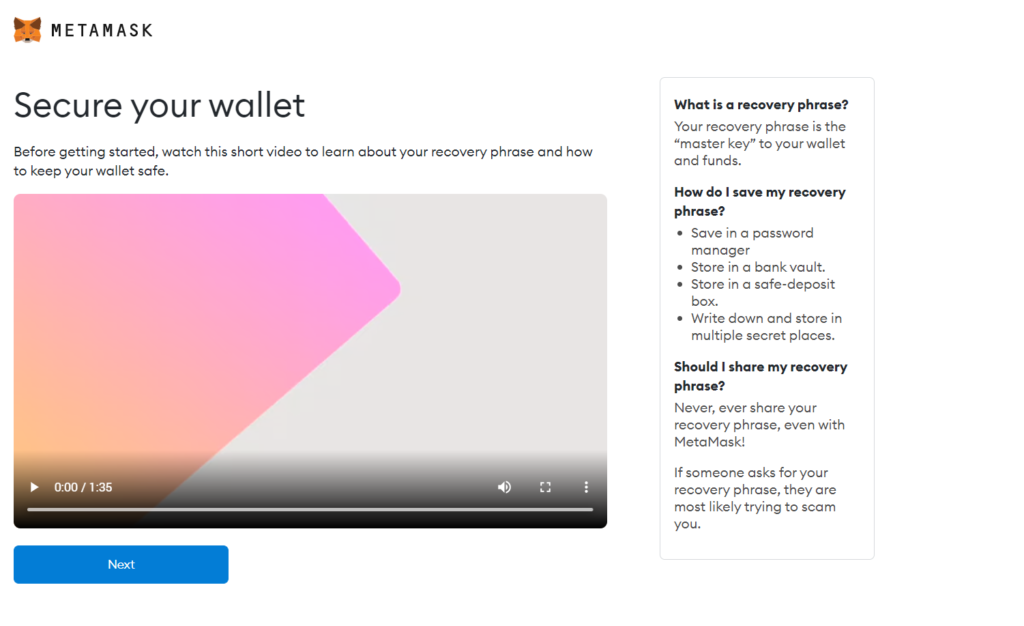
This video is well worth the watch!
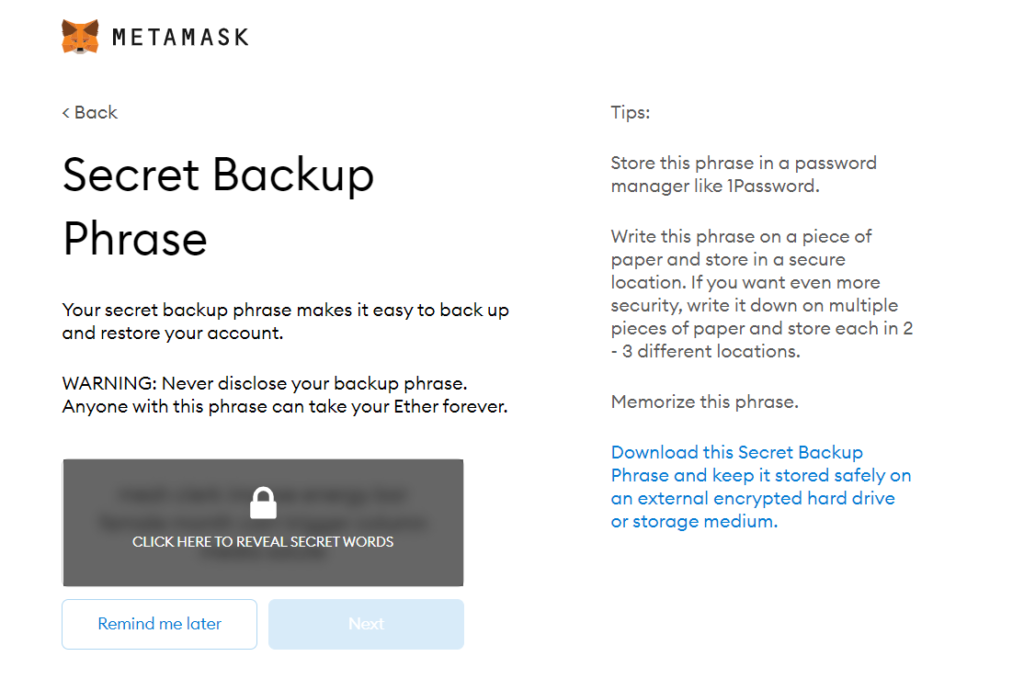
This is your seed phrase. It’s the key to all your money. If you give this to someone, they can take all your money.
Back these words up. Preferably on pencil and paper. You’ll need to confirm these in the next step.
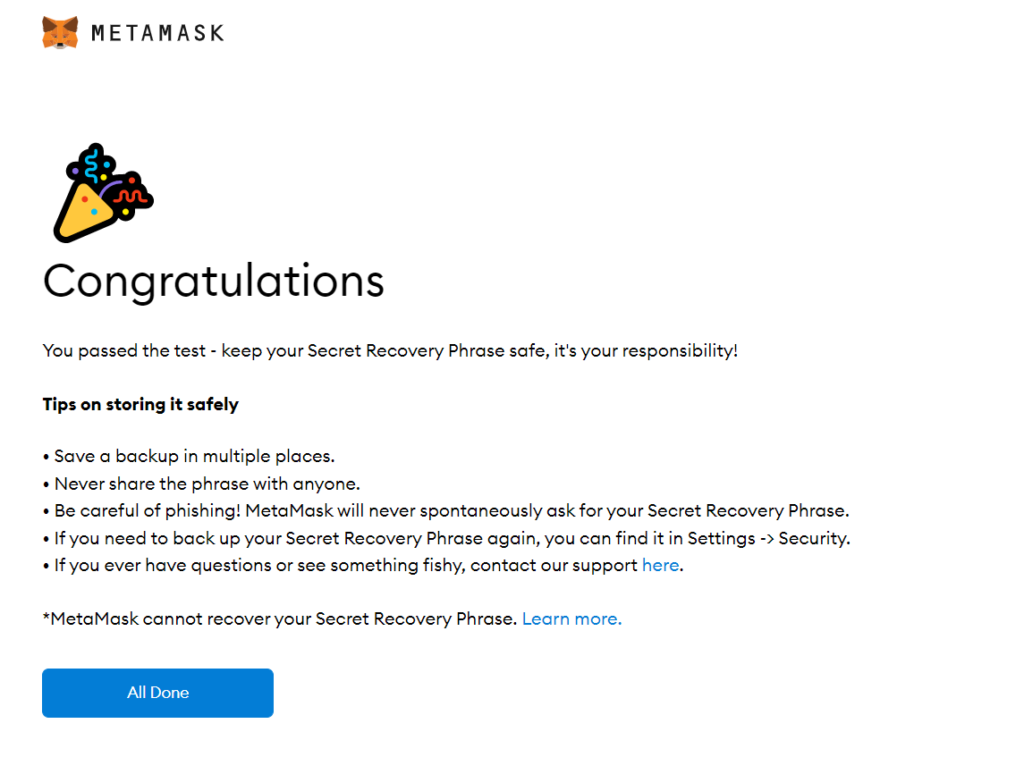
All done.
Once complete, your wallet should look something like this.
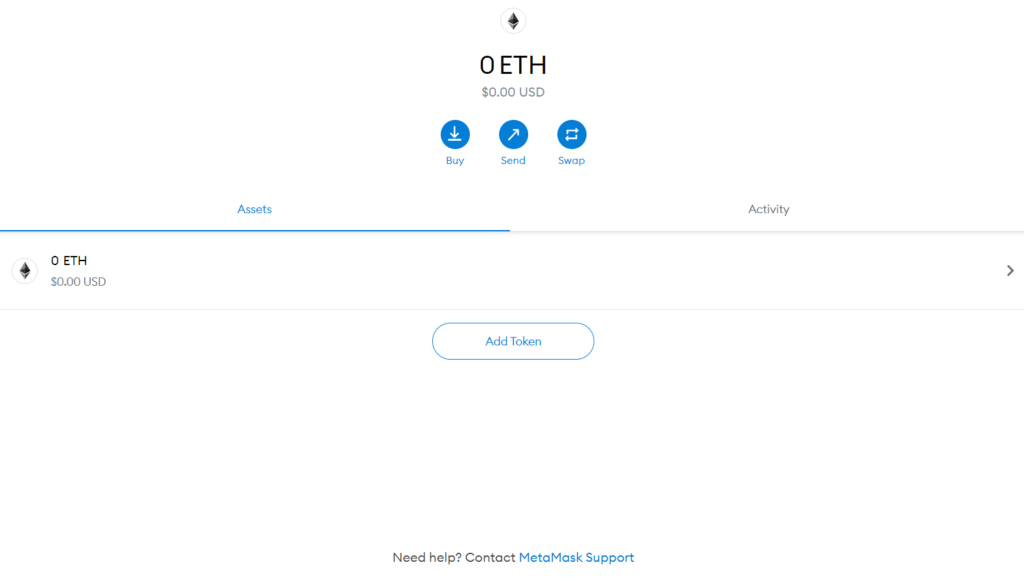
Great, well done! You have a Metamask wallet.
Let’s find the address to your wallet. You’ll need this so we can send funds to this wallet.
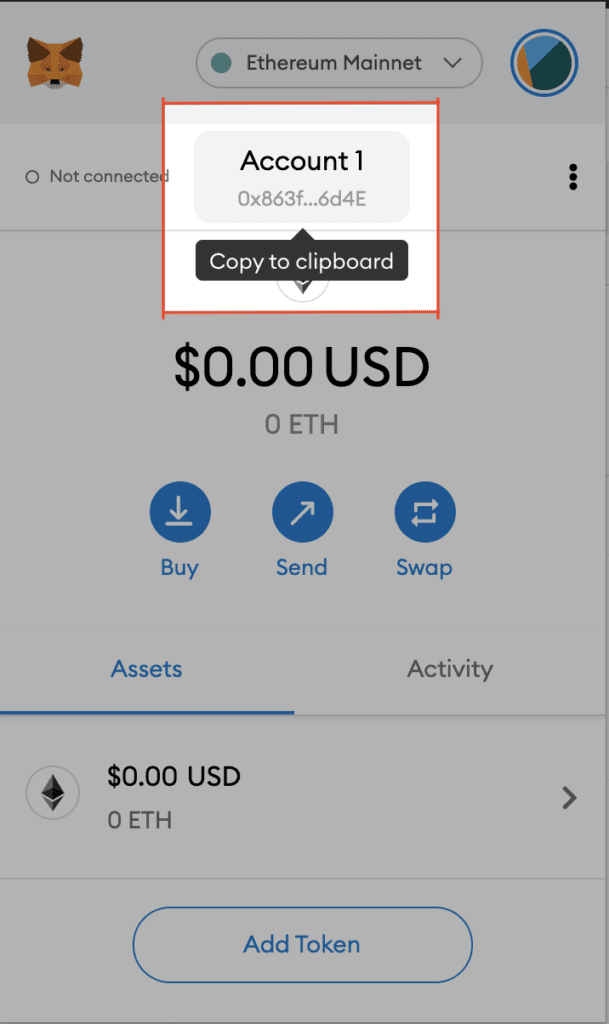
Click this area to copy to the clipboard
This is like a home address for your wallet. If you get it wrong somewhere. It’s like sending an envelope with cash in it to the wrong house. So make sure you get it correct when you are entering it in places.
Funding your wallet
Each cryptocurrency wallet has a certain amount of funds for you to spend. Just like a normal wallet. So we need to get some currency into the wallet.
I like to buy my crypto from a company called Coinjar, I’ve been using them for years.
Step 1 – Sign Up
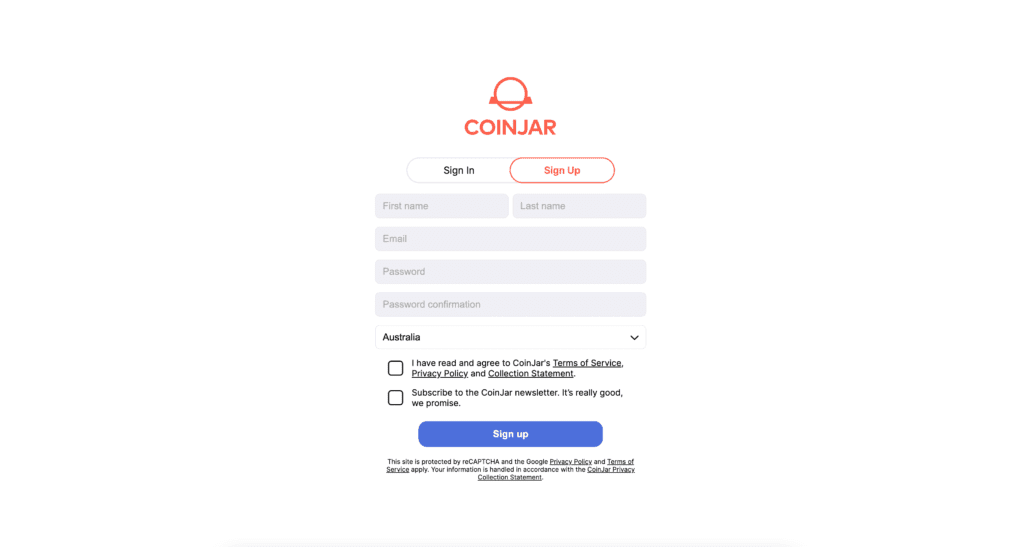
Sign up for an account here using my referral code to receive some extra Coinjar points: https://cjr.io/mZZf
Once you have done that and are verified, you can start to buy cryptocurrencies.
Step 2 – Buy Ethereum
When buying cryptocurrencies from the Buy/Sell tab, you will need funds in your Cash Account before you can buy.
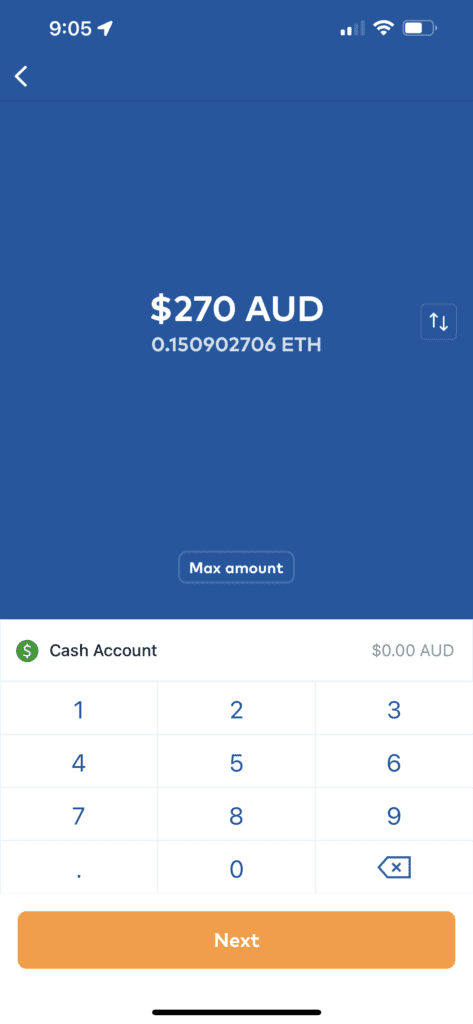
- Open the CoinJar app
- From the Buy / Sell tab, select a cryptocurrency you’d like to buy. In this case we are looking for ETH
- Select ‘Buy’
- Enter the amount you’d like to convert. We suggest 0.15 ETH per nest you would like to buy.
- Select ‘Next’
- Review the transaction, then swipe to convert at the bottom of the screen when you are ready.
- You’ll receive a payment receipt of the transfer that can be shared if needed
Step 3 – Send to your Metamask
So now that have ETH in your Coinjar account, we need to send it to your Metamask wallet.
You’ll need your ETH in your Metamask wallet in order to buy a nest. As you can’t buy NFTs through Coinjar at the moment.
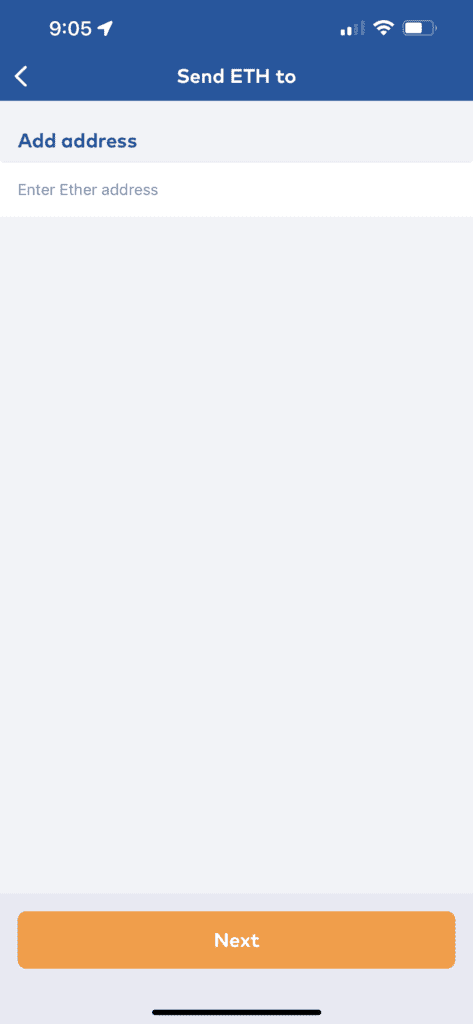
- Open the CoinJar app
- On the Home tab, choose ‘Send’ from the Quick Actions bar
- Select the account you’d like to send from
- Select the destination type: ‘Wallet address’ and enter your cryptocurrency address from the above step. MAKE SURE YOU PASTE IT CORRECTLY
- Enter the amount you’d like to send
- Review the details are correct, then ‘Swipe to send’. You can also add a short note to the transaction for your reference.
In about 15min – 30min your ETH should arrive in your Metamask wallet and look something like this:
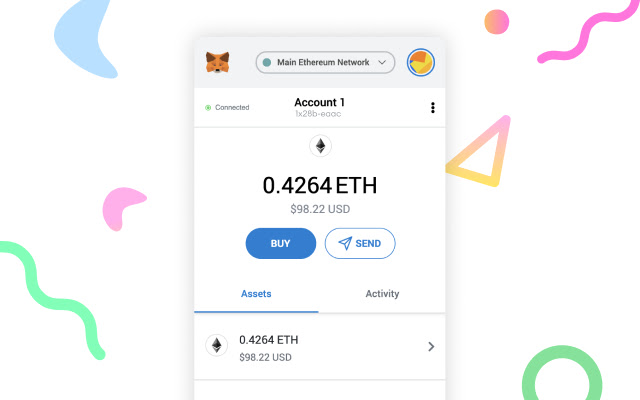
If you have got this far, we are ready to mint a nest!
Buying a nest from Genesis Mint
One of the coolest aspects of Generative Art(which our project is) is that when you buy it from us, that action is used to create the art itself. It’s you that have generated the art as part of buying it. This is only true when buying the art from us directly in a process called minting. Even if you sell the piece, the piece looks that way because of you and your transaction.
It’s also a bit of a lottery. You don’t know what you a buying. The art is a surprise. You might get a rare one. You might get one with an egg. You might even win the golden ticket 😉
If you follow this process you will be able to buy up to 10 unique nests in one transaction.
Step 1 – Navigate to our website
Go to https://genesismint.io/
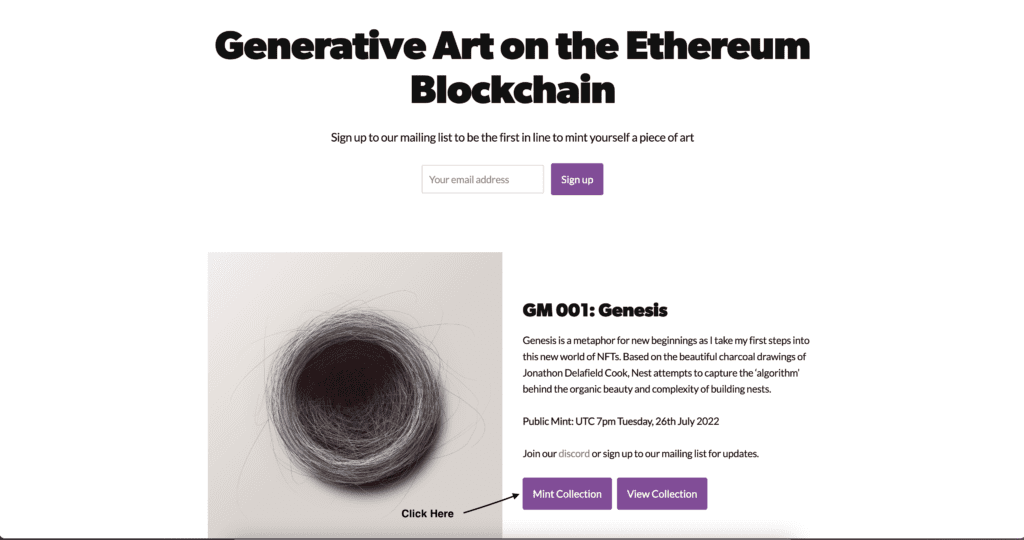
Click the “Mint Collection” link
Step 2 – Set the mint criteria
Select the number of nests you would like to mint. You can mint up to 10 in 1 transaction.
One thing to note is that each transaction on the Ethereum Network costs a fee. This is called gas, like in a car. It’s the fuel for the network to process the transaction. The reason I’ve brought this up is that we’ve done some work on our side to reduce the cost to mint a nest. Minting multiple nests at a time will actually save you money compared to minting 1 by 1.
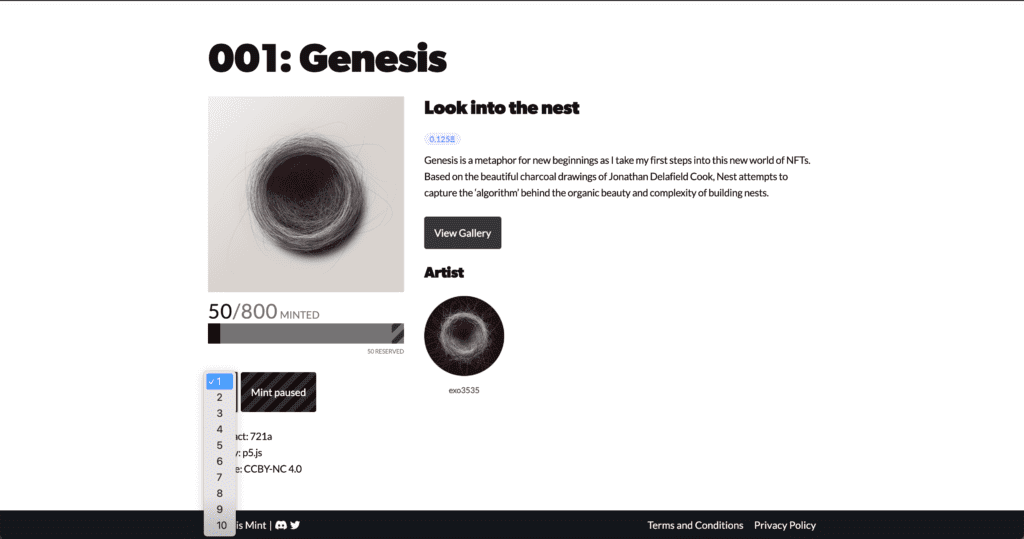
Select the number you want to mint and hit the mint button
Step 3 – Approving the transaction
Anytime you do anything on the Ethereum Network it’s called a transaction. These transactions need to be approved by you. Once you have approved it, there is no turning back. Well, this is mostly true. There is a processing time and sometimes the transaction can be cancelled during this processing time. But once it’s final, it’s final.
The transaction should look something like this:
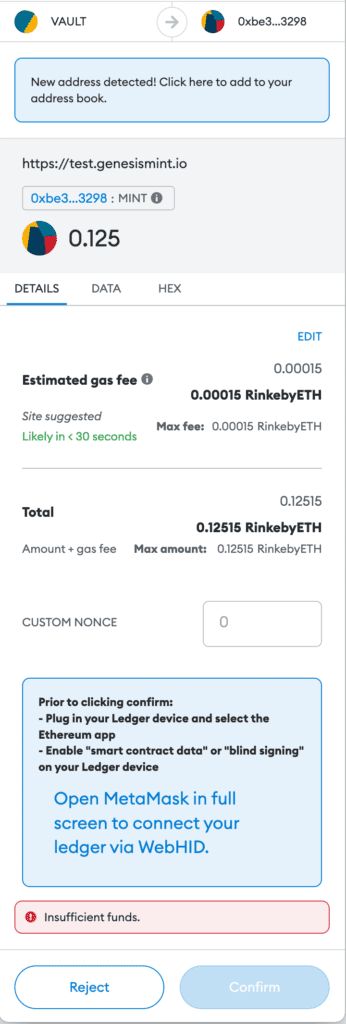
Hit confirm to mint your nest
Buying a nest from a marketplace
There are a variety of places to buy NFT but most trading is happening on a website called Opensea. And when I say most I mean most! We are talking billions of dollars in trading volume.
You can find our collection on the following link: https://opensea.io/collection/genesis-by-exo3535
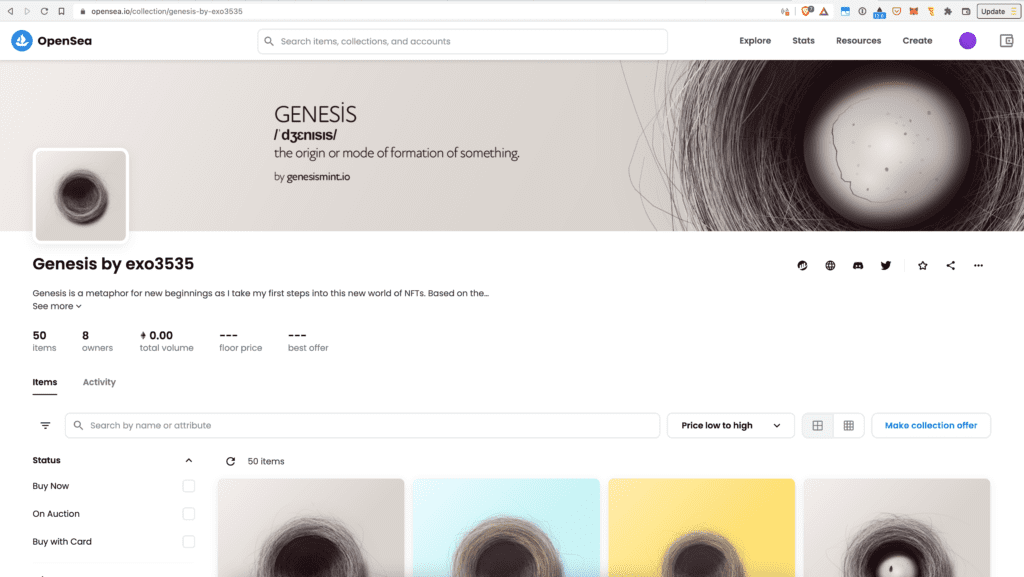
The Genesis Collection
Step 1 – Select the NFT you like
On the collection page, you can browse and filter through the different types of nests in our collection. You need to make sure you are filtering by “Buy Now” if you want to see Nests that are for sale. In this case, you are purchasing from a random person on the internet in a trustless manner. So we don’t set the price. It will likely cost more than buying from us.
Once you find the one you like, click on it.
Step 2 – Select Buy Now
TBC
Step 3 – Confirm the transaction
TBC